Cherish Yesterday...Dream Tomorrow...Live Today

Sunday, September 30, 2012

I Seem to be Wonky Even When I Don't Mean To....

Hi everyone and I hope you all had a great weekend.  I have a birthday coming up this week and am ever closer approaching the big 50!  I will be 48 and officially the older woman in my husband's life as he recently turned 47 and we shared that age for a week and a half.  By the way, he was surprised and very happy with his gift-an ipad.  He was a little upset I had spent so much as we never do that for birthdays but he got over that! 


On to the reason for the title of this blog post.  I sewed a ruffled wristlet with a tutorial from Melanie at Texas Freckles.  I enjoyed making it and I love the fabric I used.  However, when I was done and was pulling it right side out and fluffing the ruffles, I noticed the top ruffle is a little wonky.  I didn't do this on purpose.  I still like it but if I make another one, I think I will measure more carefully and give it an extra once over before I sew.  It is a nice size when you don't need a big purse.  I had some cute fabric with French writing on it that I thought would make a cute ruffled wristlet but maybe I should go with a visually forgiving fabric that won't show any unintentional wonkiness! 

Now for a little something that will make your mouth water.

 I made these yummy hot sandwiches with an awesome recipe from Stephanie O'Dea and her blog A Year of Slow Cooking.  They are peperoncini beef sandwiches.  I used mild banana peppers in the place of peperoncinis and they came out amazing. 
The family loved them.  They were all nice and melty after a trip under the broiler.  My guys all chose to put horseradish sauce on theirs but I had mine plain.  It was plenty juicy for me.  This is definitely a keeper.  It would be great if you had company and wanted something easy but filling.  The leftovers were good too! 
 
Well, I hope you all have a great week.  It is getting very fall-like here in the Northeast and I am not unhappy with that at all.  I love the crisp cool air and the chilly nights.  It is great sleeping weather. 
It also puts me in the baking mood.  I am thinking of making a big batch of muffins this week and freezing some.  What have you been baking?  Take care.                Nancy                                                                                       

Saturday, September 22, 2012

Friday Night Sew In


Happy Saturday evening everyone.  I finally got a chance to post my FNSI project from last night.  I made two Halloween place mats for my new eat-in kitchen.  I love anything vintage for Halloween and this fabric caught my eye.  It is called Halloween Postcards and I love all the images-especially the ones with cats in them! 


They turned out really cute and were very easy.  I used an older pattern from Simplicity.  It is number 8474 and it might be floating around on Ebay.  I usually look there for discontinued patterns with classic designs that never go out of style.  It has 10 different place mats and a simple napkin.  The place mats are all different shapes and sizes so it is a good pattern to have.  I enjoyed taking the time to sew last night.  I have a tv in my craft room that gets Netflix so I have been catching up on the series Once Upon a Time before the next season starts on the 30th of this month.  I have gotten hooked on it! 

I also participated in the fat quarter swap from Ninth Street Notions again and received my fabric today from Ann in California. 
She really selected some pretty prints.  They all have just a touch of sparkle to them so they should be fun to work with.  They look like Spring to me so I may head in that direction.  I hope she likes the vibrant batiks I selected for her. 

Tomorrow is my husband's birthday so we are going away for the night tomorrow night.  I took Monday off so I am looking forward to a little relaxation myself.  I can't wait to see my husband's face when he sees what I got him this year.  It is a big surprise!  Take care everyone and have a good week.  Nancy

Sunday, September 16, 2012

Guess What I Painted.....


I love denim shirts.  They are so versatile.  I decided to paint some classic country motifs on just a plain chambray shirt.  I followed a pattern in an old paint book I came across.  You just add textile medium to ordinary acrylic craft paint and it is there for life!  As anybody who has tried to remove paint from their clothes knows, I think the textile medium isn't to make it permanent-that isn't necessary.  It makes it softer so it doesn't crack.  It moves with the fabric better.  These motifs were relatively easy-not much shading needed.  You could use a stencil if you aren't a painting kind of crafter.  After I painted the shirt, I had my husband cut out matching wood pieces to the items I had painted.  I painted those and let them dry. 


Then I added metal button cover findings I bought at my craft store.  I was really happy with how everything turned out.  You could buy small wood cut outs at your craft store that match your button up shirt.  Or you could just buy plain wooden discs or other shapes and decorate them with paint and beads and put these button cover findings on the back.  What a great way to personalize a plain shirt.  Just make sure you take the button covers off before you wash your shirt! 


I thought I would show you this other shirt I made a while back.  I bought a plain denim shirt and some crochet cotton doilies.  I used fabric glue to attach the doilies to the pockets and collar.  Then I added buttons from my collection.  I thought this approach made it really feminine. 

In my continuing admiration of the Pioneer Woman Ree Drummond's baking prowess, I made her homemade granola bars .  They were amazing and I usually could care less about granola bars.  I did not dip them in chocolate as she suggested but they were very tasty just the same.  A cold glass of milk and it was a very yummy snack and quite healthy with the wheat germ and all. 

Well, I am heading off to bed as another long school week will start tomorrow.  Take care everyone. 
Nancy  

Sunday, September 9, 2012

The Importance of Note "Tacking"


Hi everybody.  Well, I am back to work and trying to get back into the swing of things.  Part of me is happy and part of me hates to drag myself out of bed so early in the morning!  Left to my own devices, I lazed around the house plenty this Summer, enjoying the air conditioning and all so it is good to get some structure back in my life.  Besides that, I do enjoy the little people I get to work with. 

I wanted to share with you a couple of bulletin board projects completed recently.  The kitchen board pictured above was a tag team project my husband and I made together.  I like bulletin boards in just about every room because I am forever tacking something up, whether it is a picture, a grocery list, a recipe or a momento.  My new kitchen didn't have any wall space left so I improvised.  I bought these small cork squares at JoAnn Fabrics for four dollars.


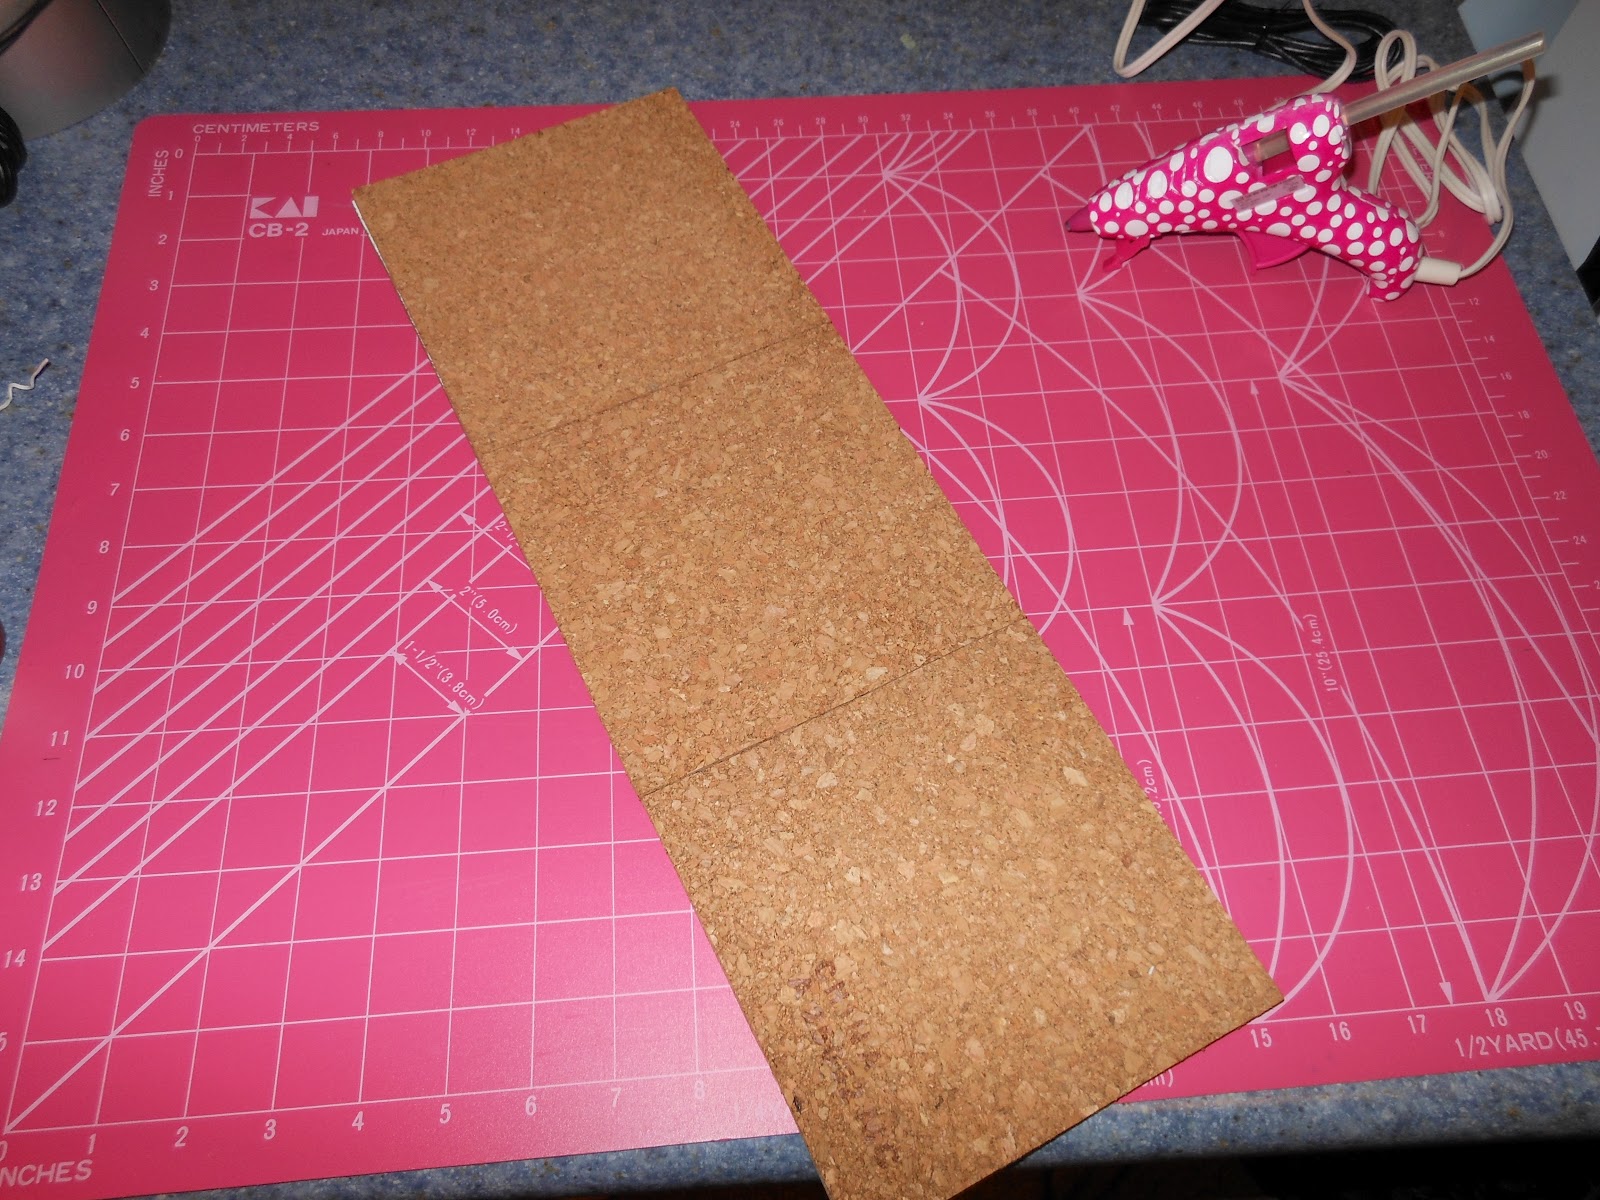
I decided three stacked on top of each other would fit on the side of my upper cabinets.  So I asked my husband to cut a piece of board the size of three of them so I could glue them on. 

You could use whatever you have on hand like plywood or mdf board but we used a scrap of beadboard.  I glued them on with a good tacky glue.  When the glue dried, I selected a fabric to be the background of my bulletin board and tacked in place nice and tight so I could secure it in the back, wrapping it like a package and using a combo of hot glue and tacky glue. 

At this point, I passed it off to my husband and I am sorry but I have no pictures of the magic he performed. He made a frame and stained it to match our cupboards.  You could get real creative here and make the frame primitive and give it a whitewash or put whatever finish you wanted on it.  The sky is the limit with fabrics and frames.  Then I just used a staple gun to staple ribbon on the back at the top and tied a pretty bow with the wire ribbon to hang it.  You could put sawtooth hangers on the back and skip the ribbon.  You could even use a purchased picture frame and ditch the glass, replacing it with a small corkboard. 


This corkboard was even simpler.  I used an existing purchased corkboard and just put fabric on it to match my craft room.  I used a tool to wedge it under the frame. 
The tool shown here happened to be in the Fiskars multi tool I have.  Anyway, it is slightly time consuming and your hand hurts a little after, but I thnk it is worth it.  I didn't use any glue because I may want to repurpose it and change the fabric.  I know this seems simple but think of where you could use a bulletin board and how cool it would be to have it look like it is part of the decorating.  When my boys were litle, I purchased very simple quilted plain comforters for their rooms because every couple of years, I would take them to the fabric store and let them pick out fabric for curtains and pillow shams.  Through the years there were planets and cars and trucks and dinosaurs and I always bought a little extra fabric to do their bulletin boards over.    It always looked so custom. 


By the way, you can't have a custom bulletin board with ordinary push pins.  I buy plain push pins and find cool buttons that match my room theme and use E6000 to epoxy them together.  I usually have to clip the shank off the buttons but it is super easy and so cute.  I have veggie push pins on my kitchen board and found these sewing themed buttons for my craft room. Aren't they cute? 


I also wanted to ask if there is anyone out there who is as big a fan as I am of the Pioneer Woman.  I love her blog and her cooking show on Food Network.  I have tried so many of her recipes and they are all delish.  I made her chicken spaghetti this past week and it was a huge hit.  I made it into two dishes so I froze one of them.  Now I have a yummy casserole to pull out when I know time is short. 

I hope everyone has a great week.  Let me know if you try one of my bulletin board ideas.  I would love to hear about it.  Take care.     Nancy